Installation
Fasteners:
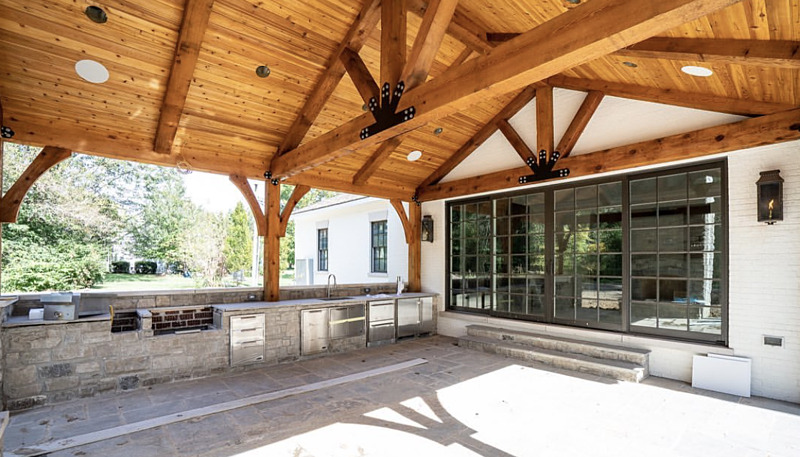
Large members require timber connectors other than nails. Bolts, lag screws, split rings and shear plates, and custom-made hardware are commonly used in heavy timber structures where the joint’s strength must be greater than that which could be achieved with nails. These types of connectors should be corrosion-resistant or suitably coated to prevent corrosion and staining. Generally, the design of mechanically fastened joints must take into consideration a variety of factors such as end and edge-spacing distances, moisture content, service conditions, and the effect of the number of connectors used. Because the cost of fabricating and installing connections may amount to a large percentage of the cost of a heavy timber structure, it is important to engineer the details of a structure before designing the timber members.
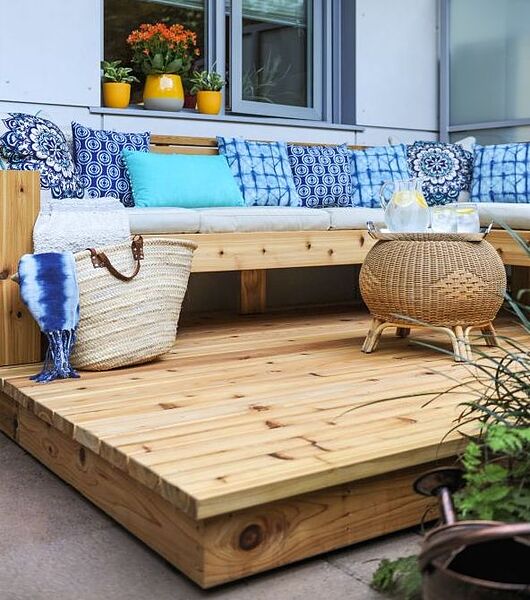
Screws can be used to fasten decks. Double hot-dipped galvanized screws can be used, however, stainless steel screws are recommended. For most applications, a 304 (18-8) grade provides adequate corrosion resistance. For decks exposed to salt air, use 316 grade. Screws must be long enough to penetrate 1″ (25 mm) into support members. Penetration of 1-1/4″ is required for structural components.
Blind fastening systems create an attractive, fastener-free deck surface. They employ metal clips and/or joist top brackets that fasten the sides or bottom of the deck board to the joists so that no fasteners are visible. Blind fastening systems are the ideal complement to the beauty of Western Red Cedar decking.
Nails:
Hot-dipped galvanized, aluminum and stainless steel nails are all corrosion-resistant and all can be used to nail Western Red Cedar. Other types of nails, such as electroplated, are not recommended. They can rust and disintegrate and react adversely with the natural preservative oils present in cedar, resulting in stains and streaks. Copper nails also react with cedar and should not be used.
Stainless steel is the best choice but hot-dipped galvanized is the most widely used and economical.

Use 3″ (10d) nails to fasten decking with a nominal thickness of 2″ (51 mm) and 2-1/2″ (64 mm), (8d) nails on decking with nominal thickness of 1-1/4″ (32 mm). This will allow for nail penetration of approximately 1-1/2″ (38 mm) into deck joists for secure, trouble-free construction (length may be reduced by 1/4″ (6mm) if ring or spiral shank nails are used). Deck boards 2″ (51 mm) wide need one nail per joist while 4″ (102 mm) and wider decking requires two per joist. To prevent the wood from splitting, use thin shanked nails with blunt points.
Screws:
Screws can also be used to fasten decks. Double hot-dipped galvanized screws can be used, however, stainless steel screws are recommended. For most applications a 304 (18-8) grade provides adequate corrosion resistance. For decks exposed to salt air, use 316 grade. Screws must be long enough to penetrate 1″ (25 mm) into support members. Penetration of 1-1/2″ (38 mm) is required for structural components.
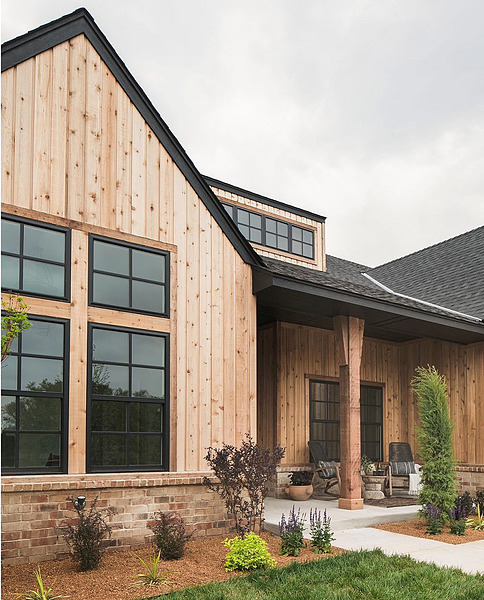
Siding Installation:
Flashing Installation
Before installing siding, make sure that flashings are installed to prevent moisture from entering wall and roof spaces. Flashing is an important line of defense in controlling moisture in wall assemblies. Flashing intercepts and directs the flow of water away from the building to designed drainage paths. Install horizontal flashing extending from the top of all wall penetrations (ie all windows and doors) and at any material or material directional change (ie. bandboards, water tables or the introduction of any alternative material). The flashing should tilt downward to allow water to drain away from the wall. Siding or trim should be ¼ inch above the flashing ledge. Do not caulk where the flashing and trim or other materials meet. Note that caulking in lieu of flashing is not acceptable.
DOOR AND WINDOW FLASHING
 The purpose of flashing window and door headers is to intercept water behind the siding and direct it to the outside, and to redirect water flowing down the face of the wall to flow away from the wall opening.
Moisture can accumulate behind the siding as a result of:
- rain penetration through the siding;
- water vapor diffusion;
- leakage of moist air from the interior or condensation.
Some moisture will drain through the weepholes at the bottom of each piece of siding. An additional head trim flashing is required at the head of the window/door to direct water further outward, beyond the thickness of the window
SKIRT AND BANDBOARDS

FASCIA FLASHING
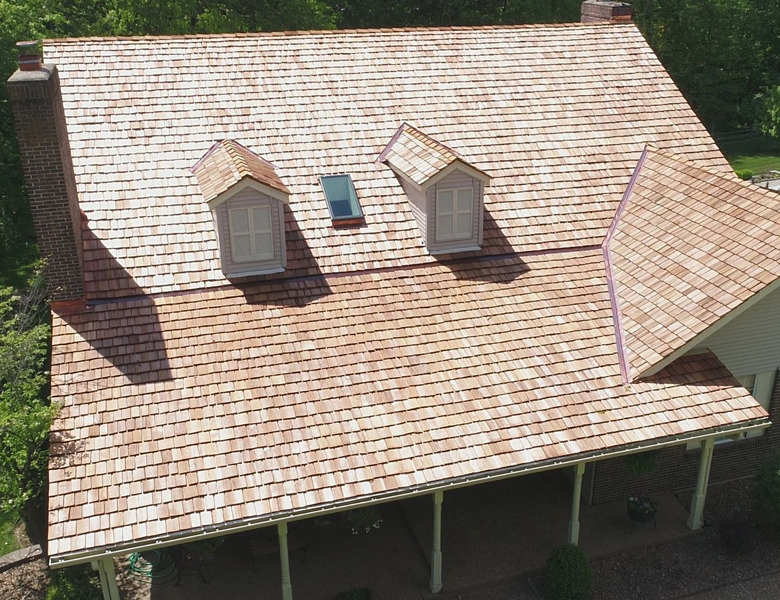
The purpose of fascia flashing is to support the shingle edge and to provide a drip edge to prevent water from running back underneath the roofing shingles and down along the fascia and soffit.

Preformed eaves flashing/drip edge should be installed under the starter course of the shingle roofing. The extension of flashing supports the edge of shingles. If eaves troughs (rain gutters) are used, the flashing edge also helps to direct the water into troughs. Fascia flashing protects both the soffit and the fascia board, and provides a drip edge at the bottom edge to direct water away from the building.
CAULK USAGE
 Use high-performance acrylic-latex, acrylic, acrylic-silicone, polyurethane, polysulfide or terpolymer rubber caulks or sealants to seal gaps around windows, doors, corners, and other exterior joints that are exposed to potential water intrusion. Pure silicone and clear caulks do not work well on Western Red Cedar and are not recommended. Caulking is not a permanent solution and as such requires regular maintenance. If not inspected and maintained, caulking may fail and trap water, creating severe moisture problems. Do not rely on it as the only barrier to moisture penetration. Do not caulk areas that will prevent moisture from escaping the wall cavity (e.g., under windows and around flashing).
ROOF & GROUND CLEARANCE
Siding and Trim that extends down to a roof (dormers, second floors, etc.) and decks requires a minimum of a 2 inch gap to avoid wicking. Trim, such as water table or skirt boards must be a minimum of 6 inches above the grade.
CORNERS AND FIELD JOINTS
Installing Corners and Field Joints

There are two main methods used for outside corners. The choice depends primarily on the desired appearance but also the experience and skill of the installer. Mitered corners offer a professional looking finish. They are most commonly used with horizontally applied siding applications such as bevel. Mitered corners require good carpentry skills. They must fit tightly for the full depth of the miter.

Corner boards are a popular and easier alternative to mitered corners. Thickness of the corner board will depend on the thickness of the siding. The most common are 3/4 inch or 1-1/4 inches thick. Width is a matter of taste and proper proportion. Corner boards are applied to the sheathing with siding fitting tightly against the narrow edge of the boards, allowing for expansion and an adequate caulking bead. The corner boards and the ends of the siding are nailed to the corner studs which anchors the wood for a maintenance-free joint. Designing roofs with an eaves overhang to protect corners from weathering also helps ensure trouble-free joints. Always apply primer or stain end cuts. With corner boards, there is the choice of applying them next to the siding or over top of the siding as shown here.

As in the above illustration, at inside corners, siding is frequently butted against a 2 x 2 trim strip. It can also be butted against adjoining walls with a trim strip used to cover the joint.
FIELD JOINTS
When butt jointing siding, cut ends at 45 degree angles to form an overlapping joint. This is particularly important for vertical installation. Ensure joints meet on studs, blocking or furring strips with the nail penetrating solid wood at least 1-1/4 inches.
All installers should learn and follow “best practices” in order to deliver a better job for their customer and reduce call backs.
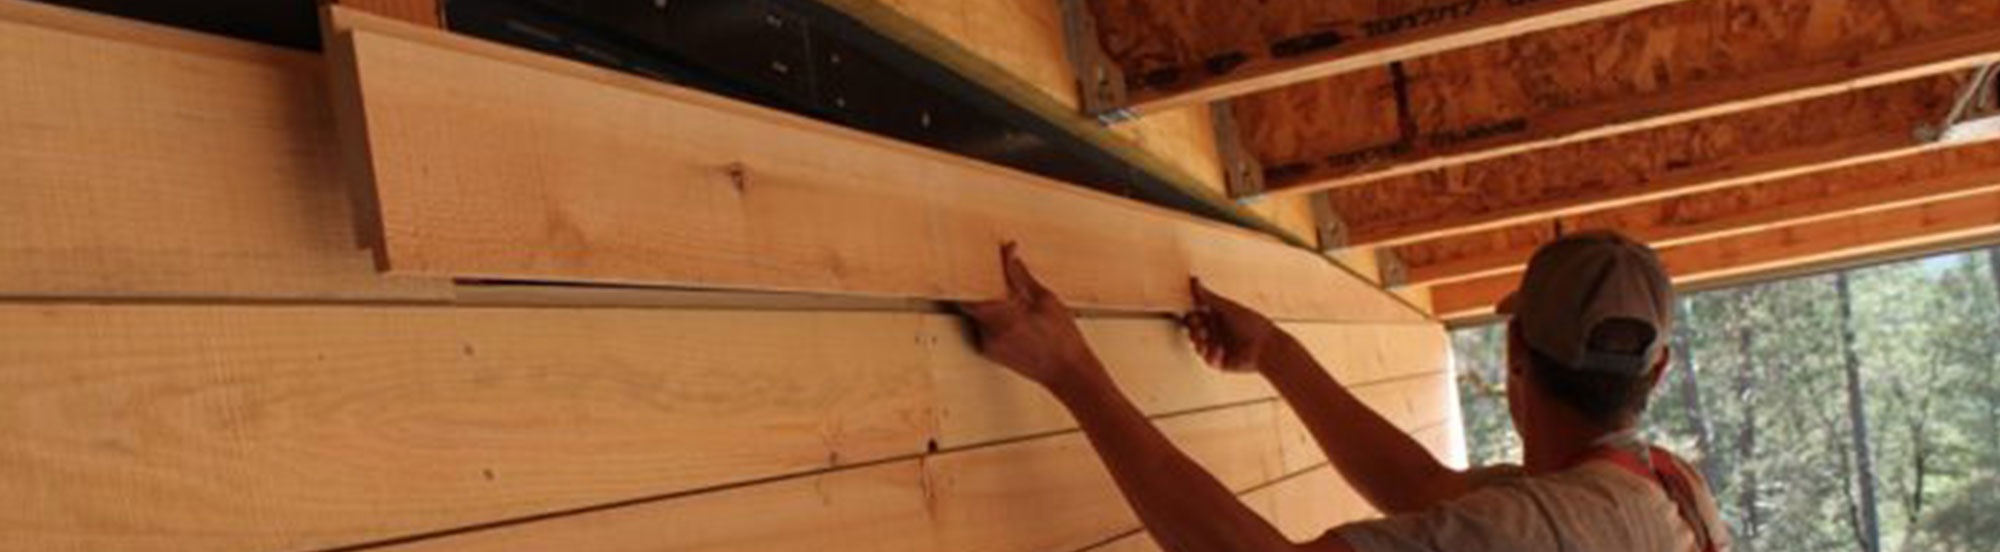
Installing Bevel Siding (Clapboards)
Spacing for the siding should be laid out beforehand. The number of board spaces between the soffit and bottom of the lowest piece of siding at the foundation should be such that the overlap is as per the table.
Start with the bottom course using a furring strip to support the lower edge. Each succeeding course overlaps the upper edge of the previous one by a minimum of 1 inch. Rabbeted patterns are self-spacing, but leave 1/8 inch expansion clearance. Where possible, the bottom of the board that is placed across the top of the windows should coincide with the window cap.

Bevel siding should be face nailed to studs with 1-1/4 inch penetration into solid wood using one nail per piece spaced at a maximum of 24 inches on center. Place nail just above the overlap. Take care not to nail through the overlap of two pieces.
Do not reduce the siding overlap recommendations given in the installation sections of this publication. Doing so could result in damage from wind-driven water. Use the larger overlaps for unseasoned sidings to allow for shrinkage and expansion. Take care not to overdrive fasteners when using larger overlaps. Butt joints between boards should be staggered and meet on studs. Fit siding snugly to other pieces and to trim.
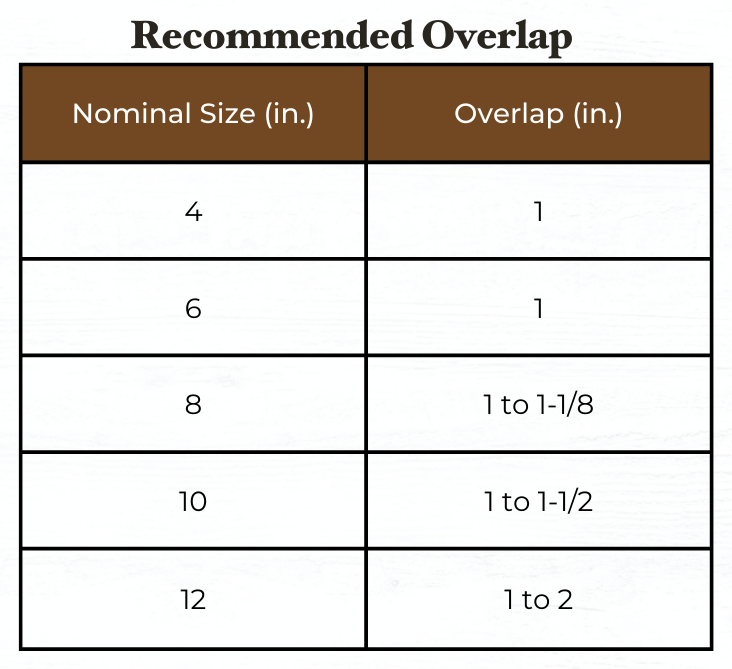
*These overlap recommendations must be followed for proper installation.
Installing Board & Batten Siding

Board-and-Batten is a vertical pattern created using cedar boards and battens of various widths for a wide range of appearances. For nominal 6 inch boards spaced ½ inch apart, battens should overlap by a least 1/2 inch. With wider boards, increase batten overlap proportionately. While there are no set widths for board and batten siding, an attractive combination is 1×3 battens with 1×10 boards.
Siding should be nailed to horizontal blocking lines or to furring strips. Boards up to 6 inches wide should be fixed with one nail per bearing driven through the center of the board. The overlying batten covering the gap between boards should be attached with one nail per bearing, the shank passing between the edges of the under boards. Use two nails per bearing on boards 8 inches and wider placing the nails 2-1/2 to 3 inches apart.
Tongue & Groove Installation

Tongue and groove siding can be installed horizontally or vertically. In horizontal application, start at the bottom and work up with the groove edges facing downwards. Siding up to 6 inches wide can be blind nailed with one siding nail per bearing toe-nailed through the base of each tongue. Wider siding should be face nailed using two nails per piece. Nails must penetrate 1-1/4 inches into solid wood.
In vertical application, start at one corner with grooved edge toward the adjacent wall. Use a level or plumb line to ensure that the first board is installed plumb. The grooved edge of the first board may have to be trimmed to ensure a flush fit. Siding is nailed to horizontal blocking lines installed between studs or to furring strips. As with horizontal installation, pieces up to 6 inches can be blind nailed and wider pieces should be face nailed.
Installing Lap Siding

Lap siding can be installed horizontally or vertically. For horizontal applications, start with the bottom course and work up with the channels pointing upwards. Allow a 1/8 inch expansion gap between pieces if the siding is air or kiln-dried. Do not nail through overlaps. For siding up to 6 inches wide, use one nail one inch up from the lap. Face nail with two nails per piece for 8 inches patterns and wider, keeping nails 2-1/2 to 3 inches apart to allow for dimensional movement without splitting. For vertical applications, siding should be nailed to horizontal blocking or furring strips.
Fencing Installation:
Most fences are constructed with three basic elements: post, rails, and infill material. Posts are vertical uprights. Rails run horizontally between and are supported by the posts. Infill material, most commonly boards, are attached to the rails. For each of these elements, there is a size and grade of Western Red Cedar to build just about any style of fence on any budget. Remember, it doesn’t necessarily cost more to have a stylish fence.

Here’s a checklist of points you should consider when planning a fence:
- Choose a style that suits both the purpose of the fence and the landscape, then maintain consistency of style throughout.
- Decide whether you’ll build the fence from scratch or from ready-made fencing sections.
- Select from rough or surfaced material for posts, rails and boards.
- Select solid boards with flat tops or choose from a variety of patterned-top boards such as pointed, dogeared, gothic, spearhead, roundtop and others.
- Decide whether short length pattern siding such as channel or tongue and groove V-joint will achieve the look you want.
- Consider using lattice panels alone or in combination with solid boards where a lighter, more open fence is desired.
- Decide on the type of finish. Transparent or semitransparent stains are suggested if a natural look is desired. Solid color stains are recommended if an opaque finish is desired.